Controls matched to the task
The form makes brush texture, palette direction, detail level, and background treatment explicit, so the request captures the intended result and delivery context instead of relying on an ambiguous one-line instruction.
Start with a clear authorized photo with a visible subject and usable lighting. Choose brush texture, palette direction, detail level, and background treatment, then review the result against the original context before using it.
Use only material you are authorized to handle. Review source details and intended use before submitting.
Expected output
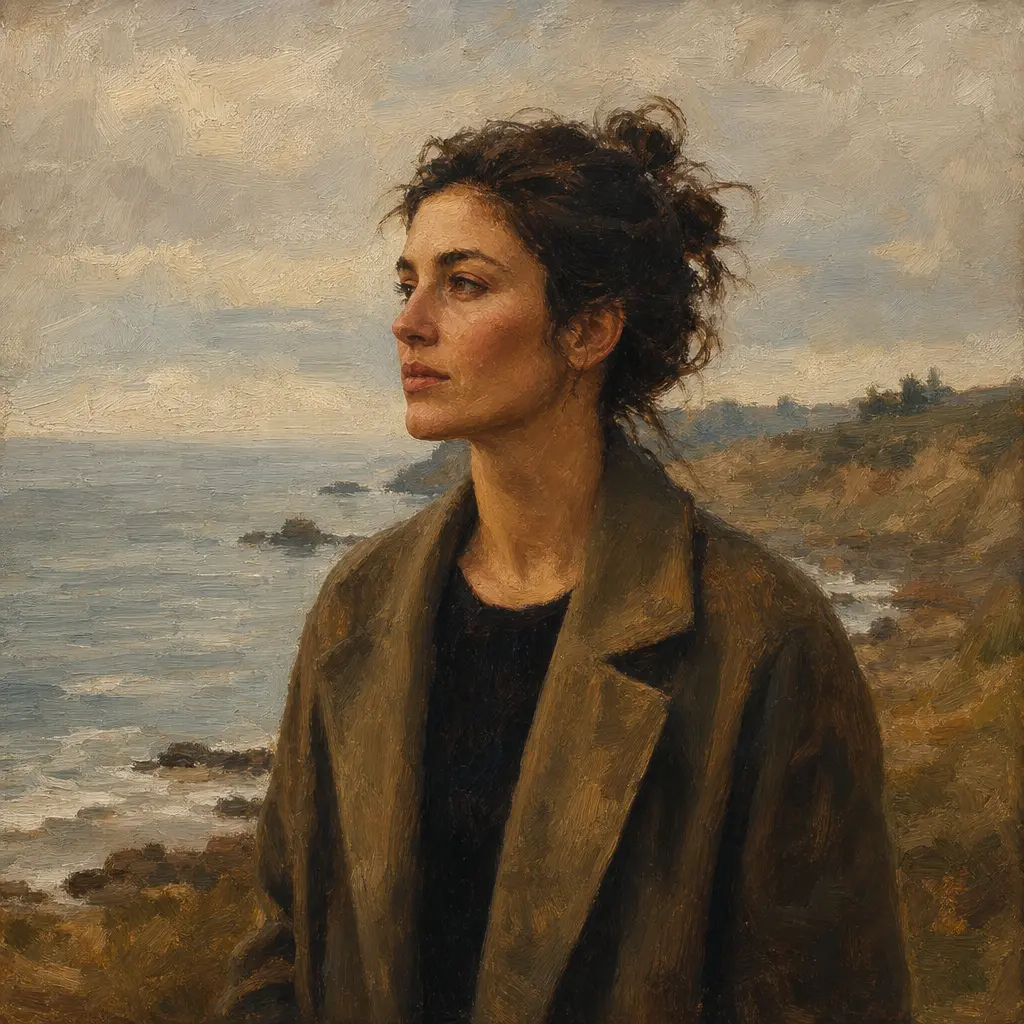
An authorized coastal portrait is interpreted with visible layered brushwork, a restrained warm palette, and an original gallery-style presentation.
Key features
The form makes brush texture, palette direction, detail level, and background treatment explicit, so the request captures the intended result and delivery context instead of relying on an ambiguous one-line instruction.
Begin with a clear authorized photo with a visible subject and usable lighting. Clear, authorized source material gives the request a stronger factual and visual foundation for later review.
Check subject recognition, unintended changes to text or logos, color balance, and source-image rights before relying on a future result. Structured inputs improve clarity but never replace contextual human verification.
Use this tool within a clear boundary: do not imitate a living artist's distinctive style or represent an unofficial result as licensed art. Retain source material and permissions whenever they affect sharing or commercial use.
Step by step
Provide a clear authorized photo with a visible subject and usable lighting. Keep the request tied to the actual use case and to information, media, and people you are authorized to handle.
Choose brush texture, palette direction, detail level, and background treatment. Select settings that fit the intended audience and placement instead of assuming a more aggressive transformation is always better.
Inspect subject recognition, unintended changes to text or logos, color balance, and source-image rights. Compare important details with the source and obtain qualified review when the material affects rights, safety, records, or public claims.
FAQ
It helps you prepare an original oil-painting interpretation of an authorized photo using brushwork and palette controls. The page turns the intended source, settings, and review points into a clear request before any output is relied on.
Use a clear authorized photo with a visible subject and usable lighting. A complete source and a defined goal reduce ambiguity and make later review more practical.
Choose brush texture, palette direction, detail level, and background treatment for the actual audience and destination. Start with the setting that serves the goal without introducing unnecessary changes.
Review subject recognition, unintended changes to text or logos, color balance, and source-image rights. Compare important claims, visible details, and context with the original source rather than treating a polished result as automatically correct.
do not imitate a living artist's distinctive style or represent an unofficial result as licensed art. You remain responsible for permissions, accuracy, disclosures, and the final decision to use or share a result.
Image Converters
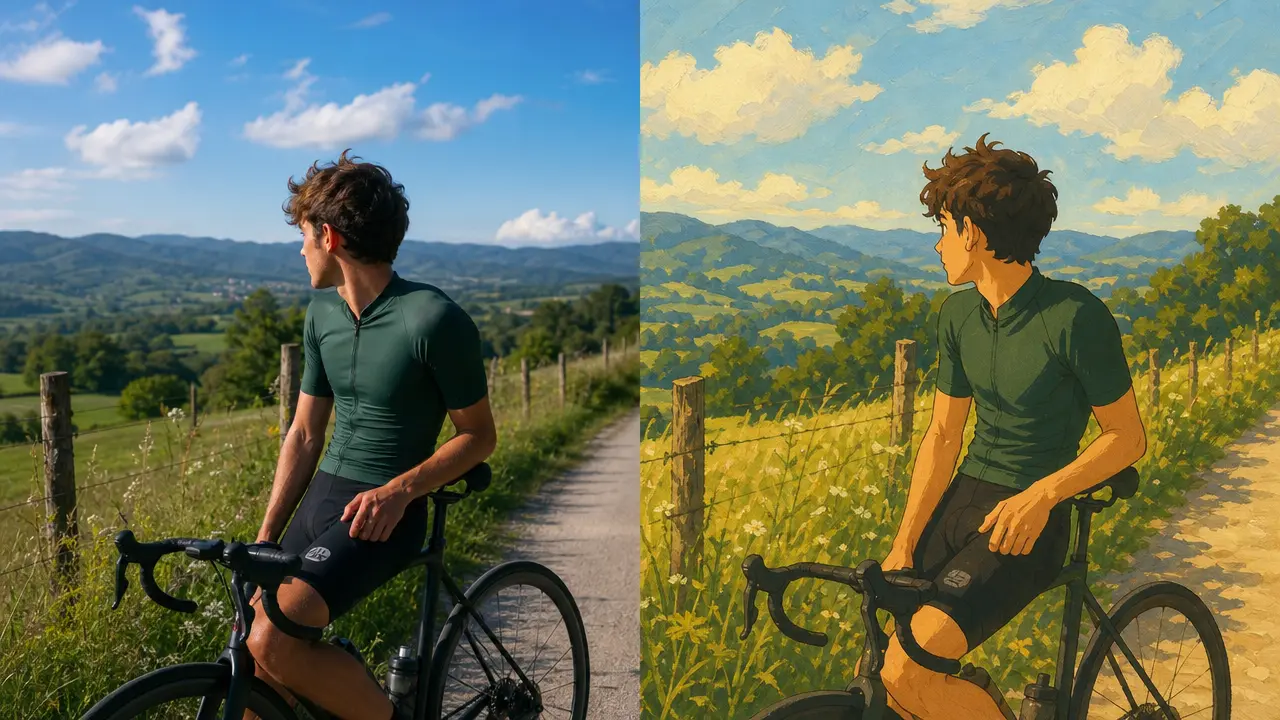
Reimagine a photo with hand-painted, animation-inspired scenery and adjustable stylization.
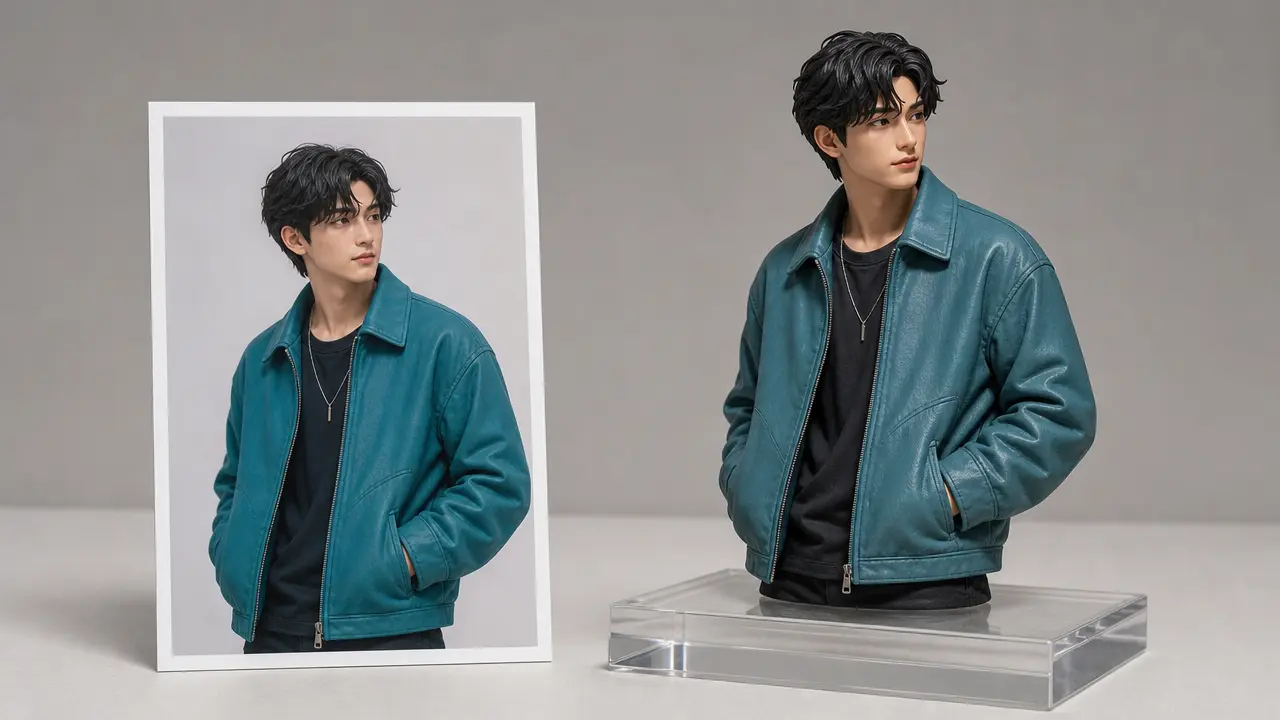
Reimagine an authorized photo as a dimensional product, figurine, or isometric illustration concept while preserving its key subject and composition.
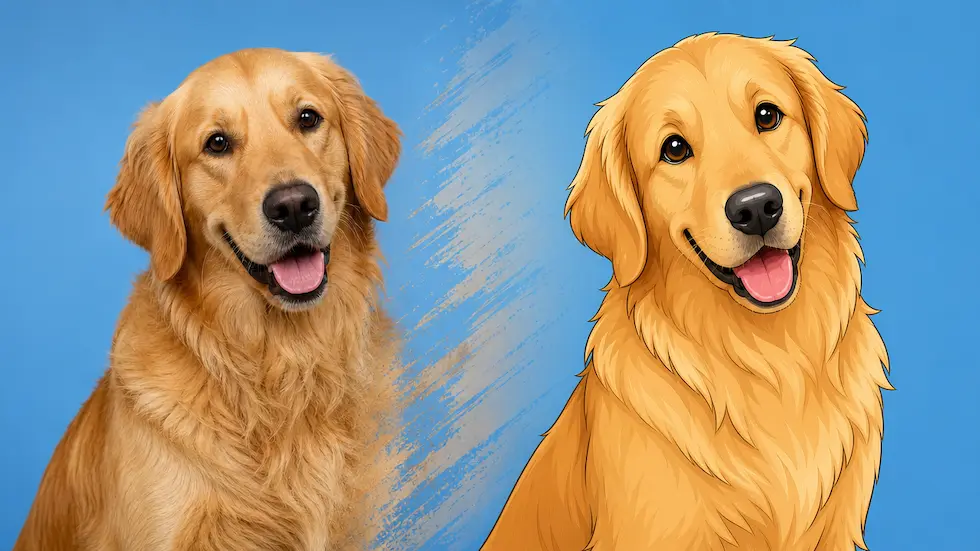
Prepare an authorized photo for a controlled cartoon-style visual reinterpretation with line, color, and background direction.
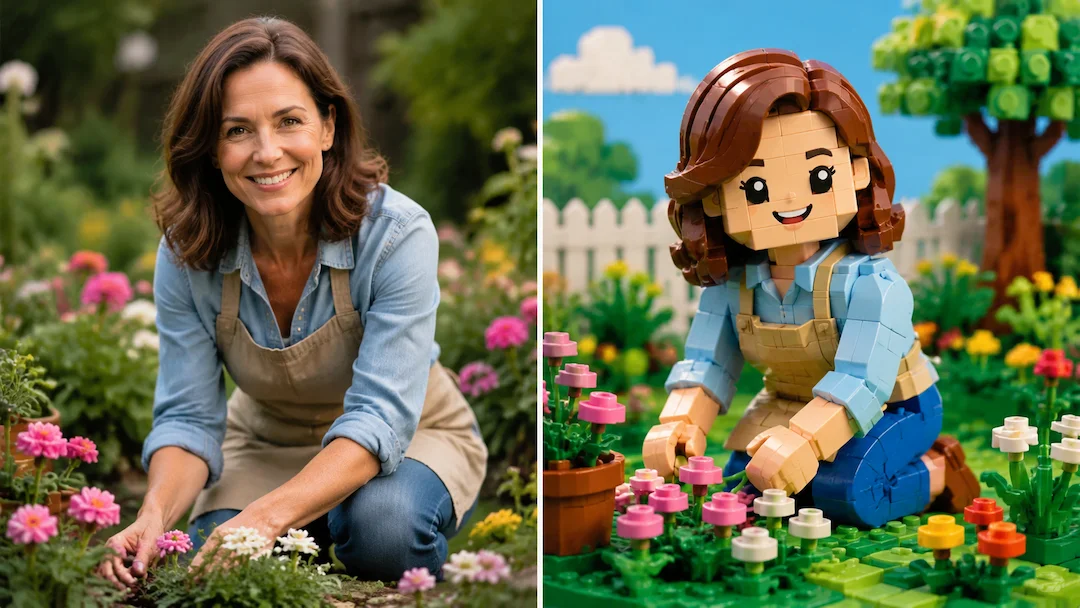
Use Photo to Lego to prepare an original brick-toy-style interpretation of an authorized photo with figure, scene, and detail controls.
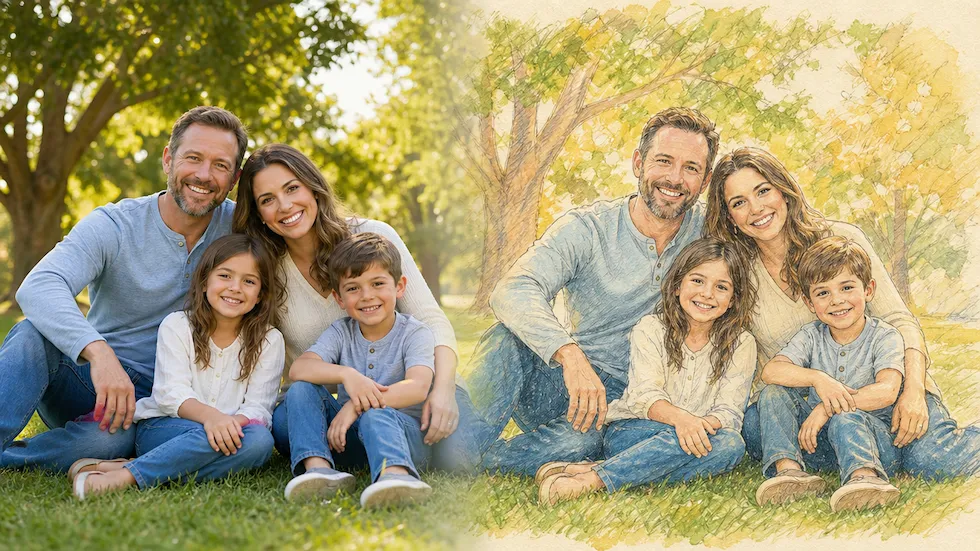
Use Photo to Disney to prepare an original family-friendly illustration interpretation of an authorized photo without claiming Disney affiliation.
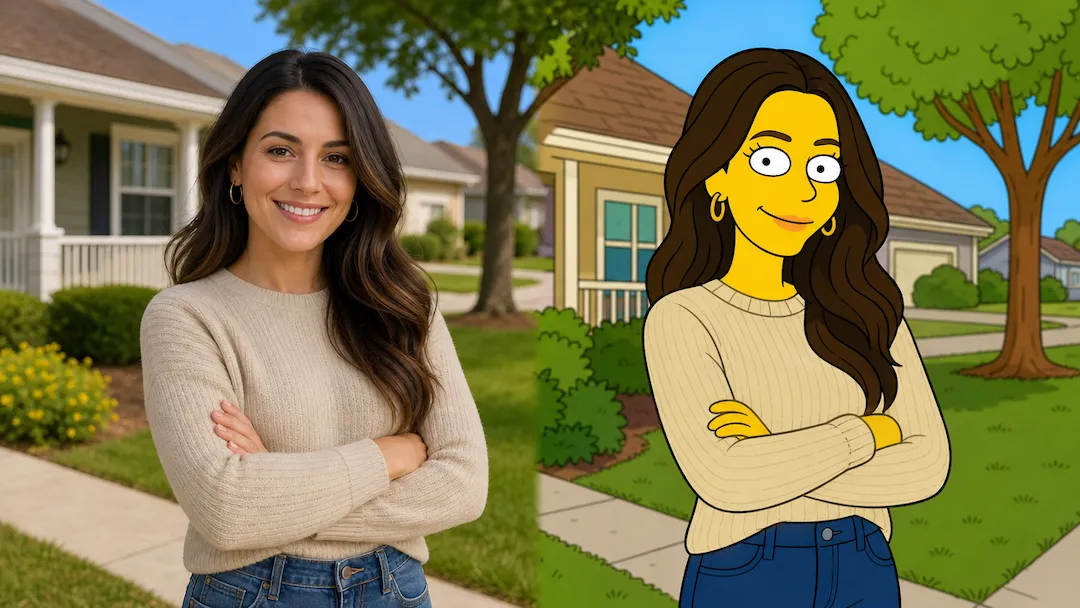
Reimagine an authorized photo as an original animated portrait with clear composition, palette, and expression controls.