Dimensional style directions
Choose from a collectible figurine, polished product render, or isometric illustration direction so a flat source image can be planned around a specific three-dimensional visual language.
Upload a photo you are allowed to transform, choose a three-dimensional visual direction, and set a background and framing that fit the intended use.
Upload a photo you are authorized to transform and choose a visual direction. Results are presentation concepts, not manufacturing files.
Expected output
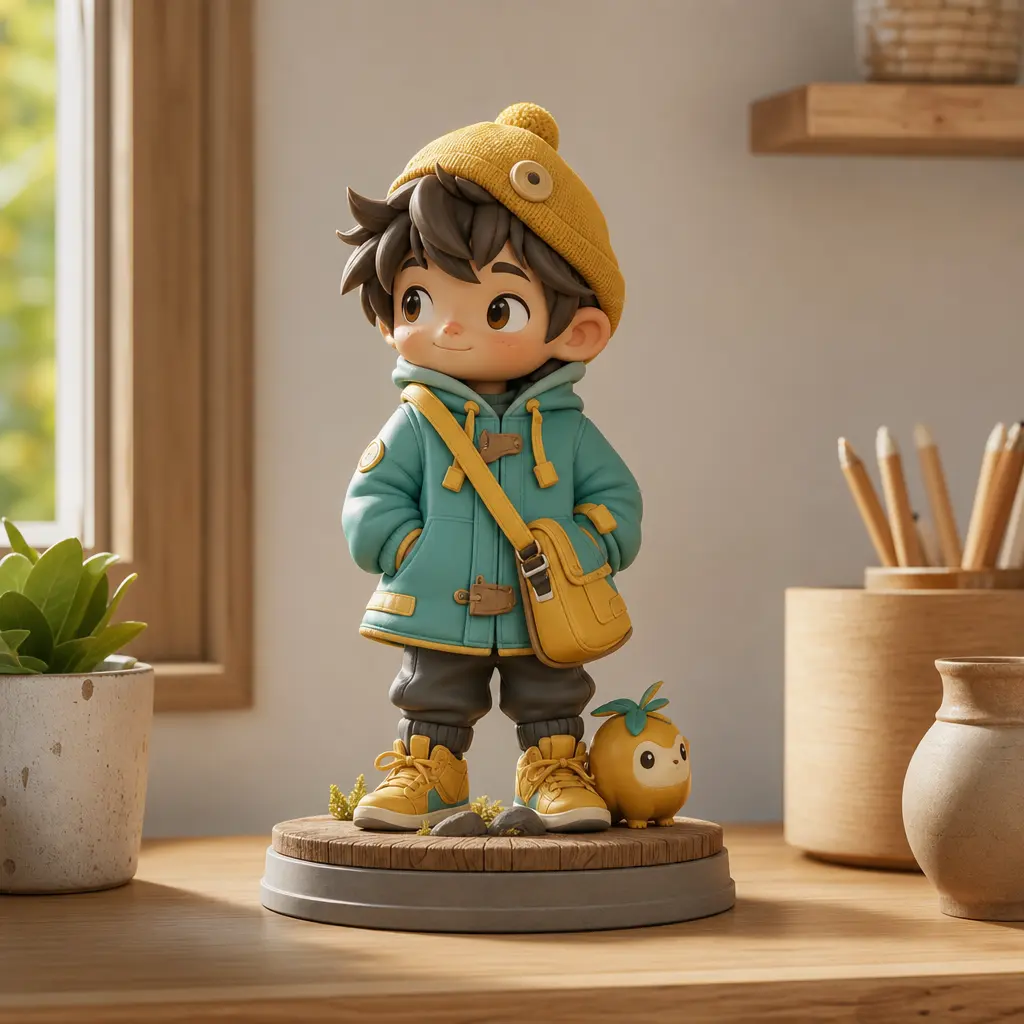
A small character-like collectible displayed on a tidy desk plinth, showing the intended dimensional lighting, material, and product-presentation treatment.
Key features
Choose from a collectible figurine, polished product render, or isometric illustration direction so a flat source image can be planned around a specific three-dimensional visual language.
Keep the request anchored to the main subject, visible accessories, and recognizable color cues from the original photo, rather than treating the source only as a generic inspiration image.
Set a clean studio, desk display, or simple color backdrop to support the intended 3D concept, helping the result read as a presentation visual rather than an unstructured transformation.
Use only photos, characters, products, and marks you are authorized to transform, and review results carefully before presenting them as commercial work, official merchandise, or licensed art.
Step by step
Upload an authorized image with the main subject visible. Product and portrait photos work best when edges, important accessories, and the primary color palette can be clearly seen.
Choose the output style and display setting, then add a short note about the parts of the source image that should remain recognizable in the dimensional reinterpretation.
Review materials, geometry, text, logos, and proportions before submission or sharing. The output should be treated as a visual concept, not as an accurate manufacturing model or official product image.
FAQ
Use a well-lit photo with a clear main subject and visible edges. Avoid images where the subject is tiny, heavily occluded, or mixed into a busy background that makes its shape difficult to identify.
Choose a figurine for collectible-like presentation, a product render for polished object-focused scenes, and an isometric illustration for graphic or editorial layouts. Match the style to the intended visual use.
No. This tool is intended for a two-dimensional visual reinterpretation with a three-dimensional look. It should not be treated as CAD geometry, a manufacturing file, or a guaranteed printable model.
Only when you have the necessary rights. Do not imply that an unofficial conversion is licensed, official, endorsed, or suitable to sell as merchandise without permission.
Use it as a visual exploration or presentation concept after reviewing the result. For commercial production, product listings, or packaging, obtain the necessary rights and create verified final assets.
Image Converters
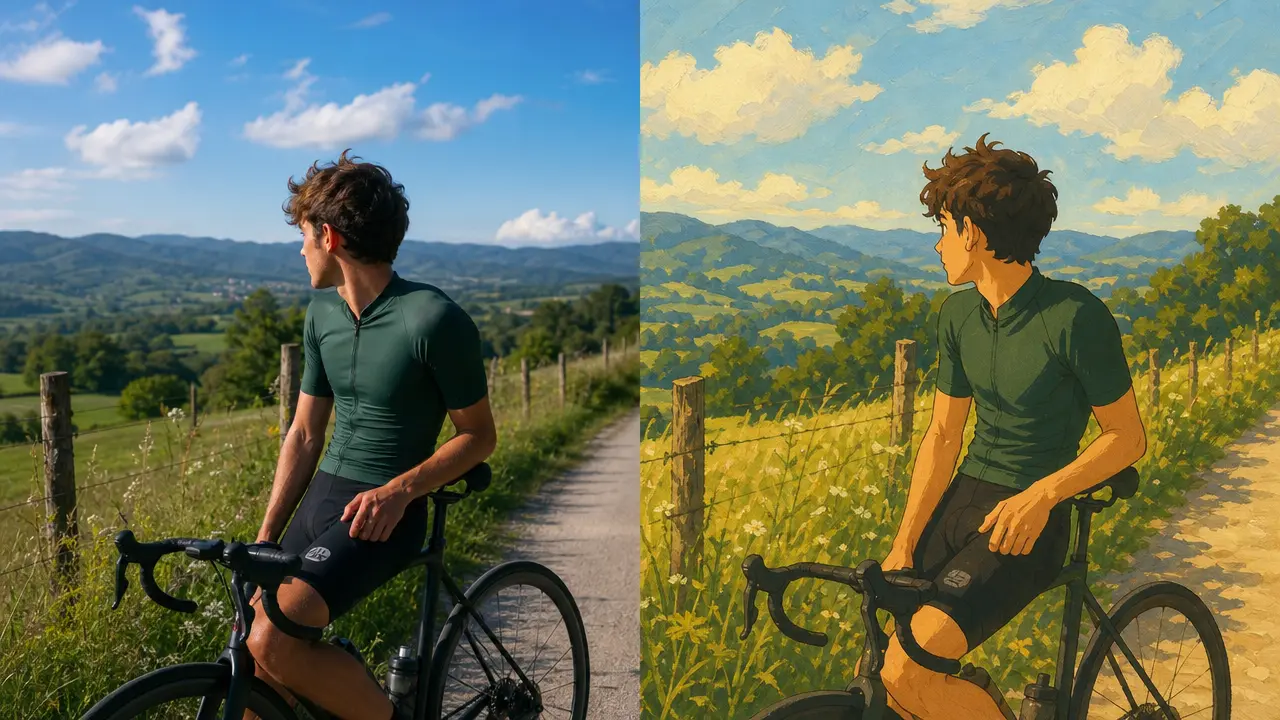
Reimagine a photo with hand-painted, animation-inspired scenery and adjustable stylization.

Prepare an authorized photo for a controlled cartoon-style visual reinterpretation with line, color, and background direction.
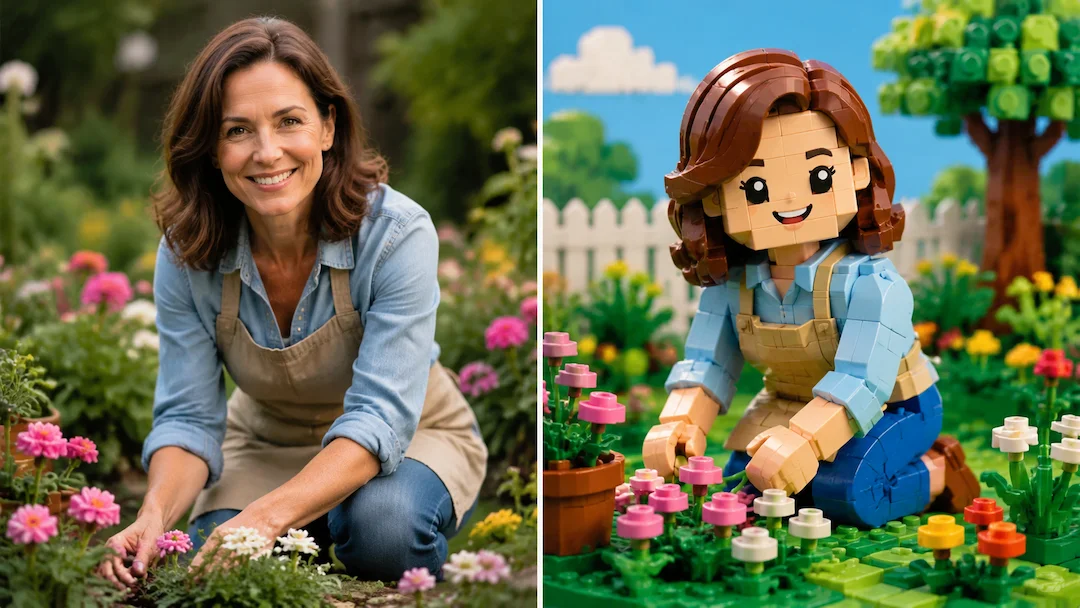
Use Photo to Lego to prepare an original brick-toy-style interpretation of an authorized photo with figure, scene, and detail controls.

Use Photo to Disney to prepare an original family-friendly illustration interpretation of an authorized photo without claiming Disney affiliation.

Reimagine an authorized photo as an original animated portrait with clear composition, palette, and expression controls.
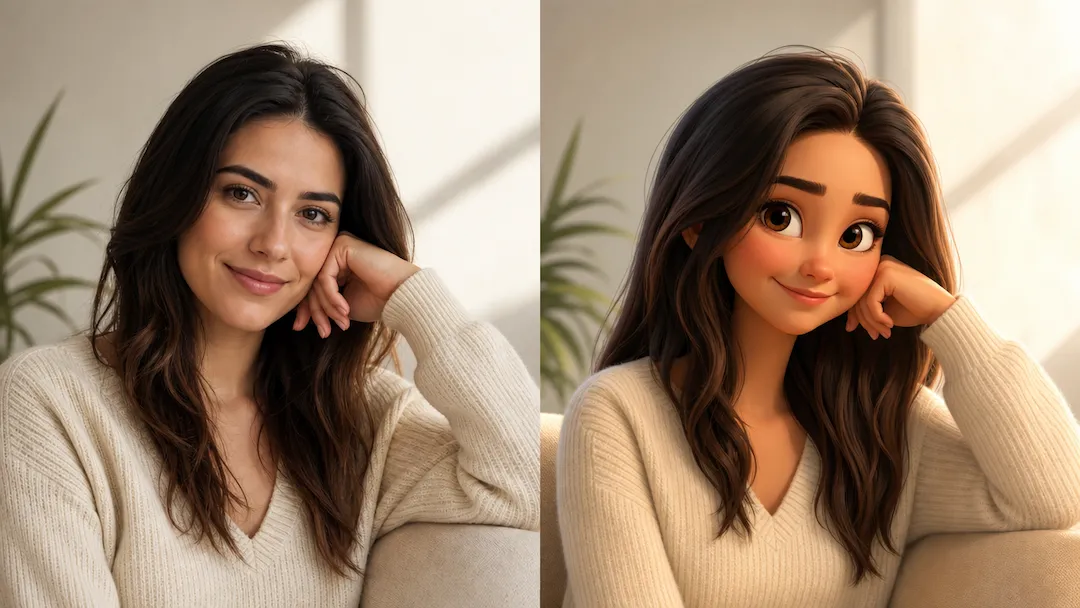
Reimagine an authorized photo as an original animated portrait with clear composition, palette, and expression controls.