NexMate

Photo to Clay for Original Handmade-Style Art

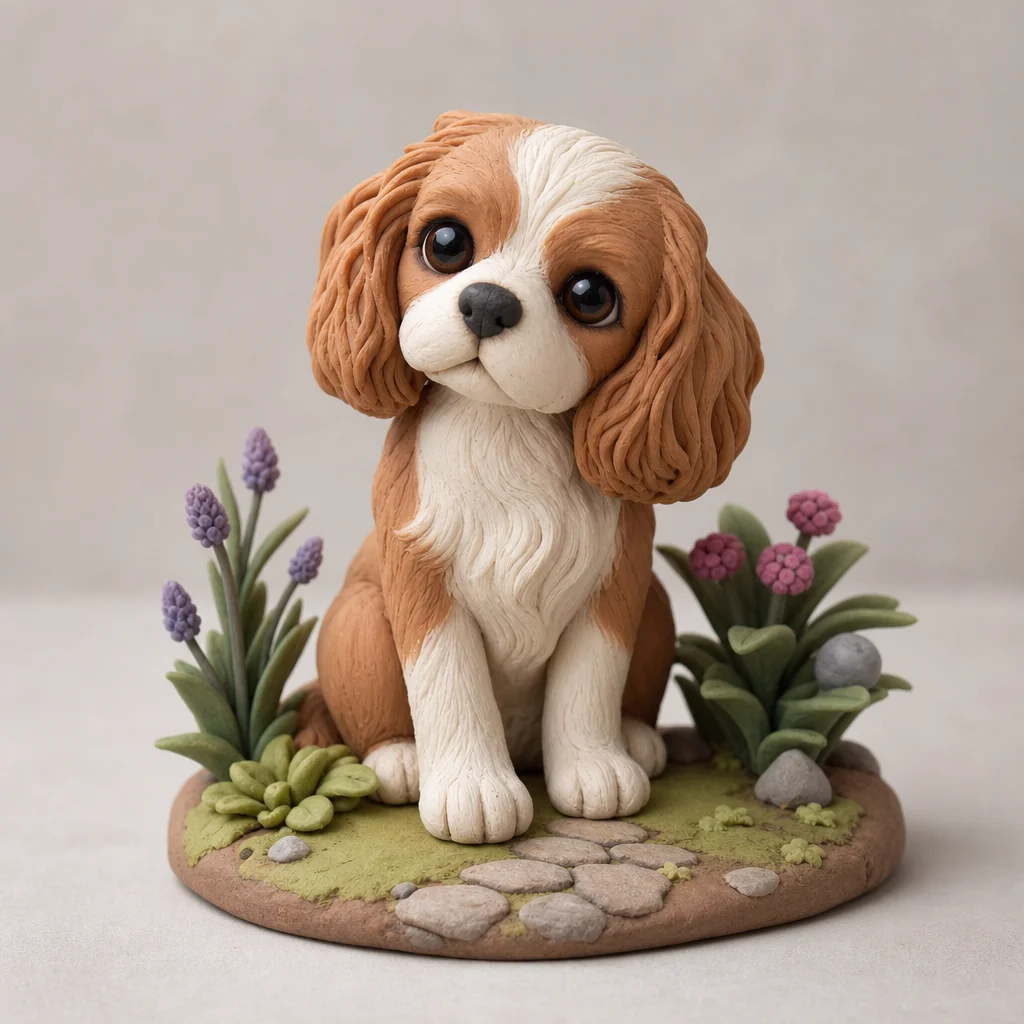
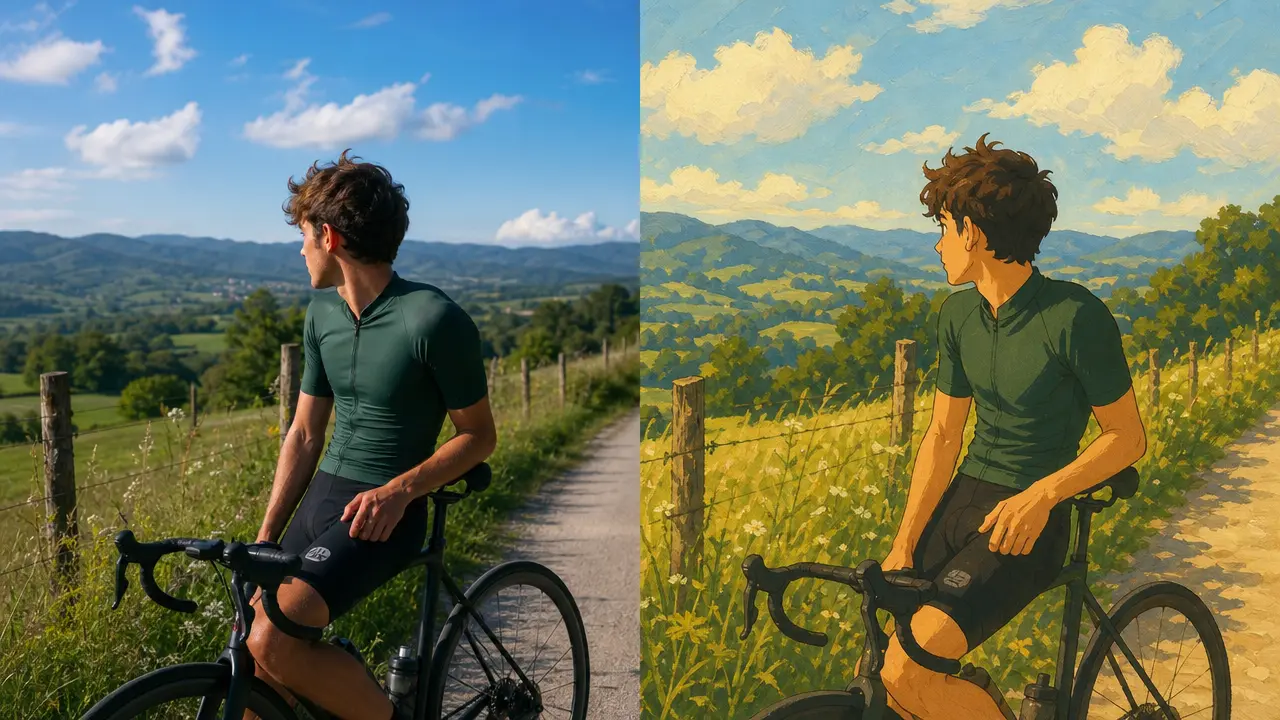
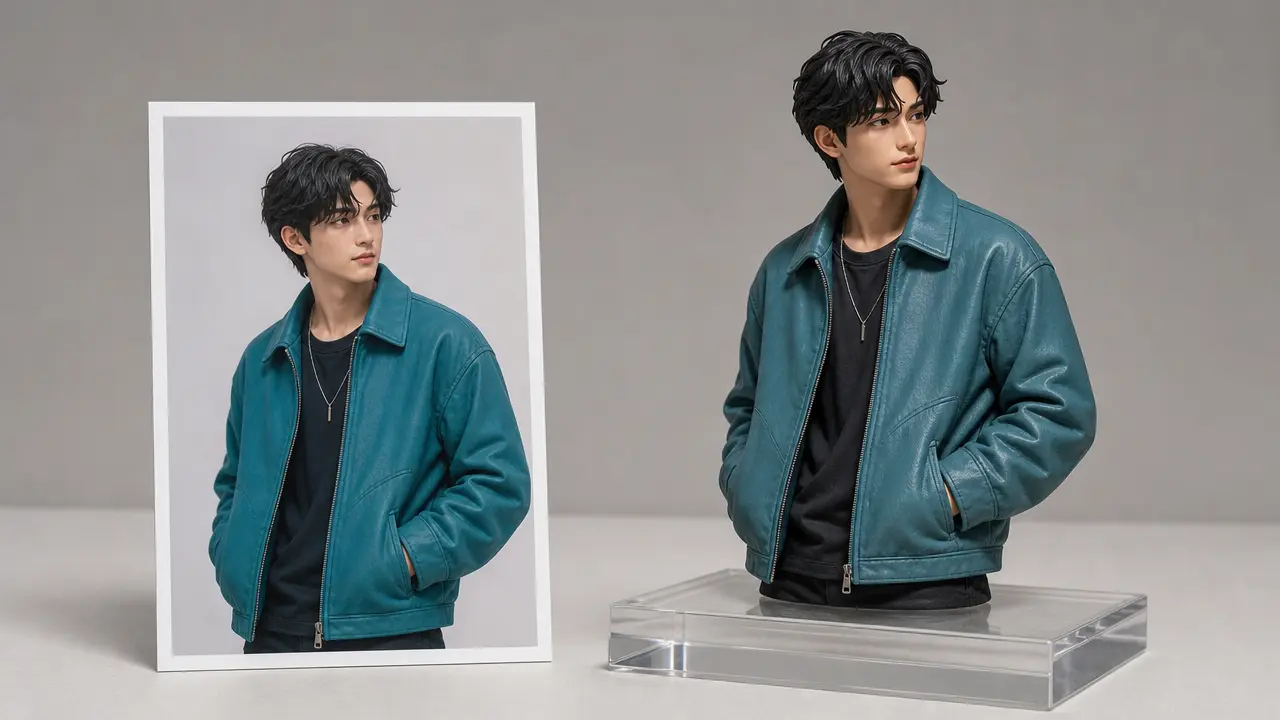
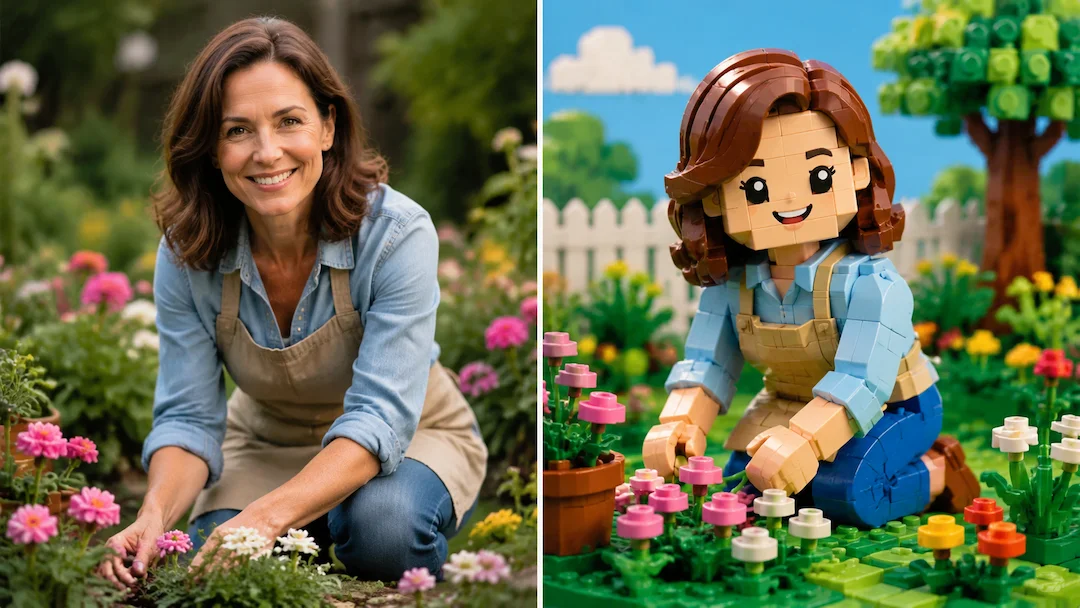
Start with a clear authorized photo with one readable subject and details you are allowed to transform. Choose clay material, sculpting detail, color palette, background treatment, and output ratio, then review the result against the original context before using it.

Create an Photo to Clay Request

Use only material you are authorized to handle. Review source details and intended use before submitting.

JPG, PNG, or WebP, maximum 10 MB. Use only an image you may edit.

.

Key features

Key Features of Photo to Clay

01

Controls matched to the task

The form makes clay material, sculpting detail, color palette, background treatment, and output ratio explicit, so the request captures the intended result and delivery context instead of relying on an ambiguous one-line instruction.

02

Source-quality guidance

Begin with a clear authorized photo with one readable subject and details you are allowed to transform. Clear, authorized source material gives the request a stronger factual and visual foundation for later review.

03

Review points before use

Check subject recognition, small details, unintended logo changes, color balance, and source-image rights before relying on a future result. Structured inputs improve clarity but never replace contextual human verification.

04

Responsible-use boundary

Use this tool within a clear boundary: do not imitate a living artist's distinctive work or present an unofficial result as licensed merchandise. Retain source material and permissions whenever they affect sharing or commercial use.

Step by step

How to Use Photo to Clay

  1. 1

    Prepare the source and outcome

    Provide a clear authorized photo with one readable subject and details you are allowed to transform. Keep the request tied to the actual use case and to information, media, and people you are authorized to handle.

  2. 2

    Set the controls for the destination

    Choose clay material, sculpting detail, color palette, background treatment, and output ratio. Select settings that fit the intended audience and placement instead of assuming a more aggressive transformation is always better.

  3. 3

    Review key details before use

    Inspect subject recognition, small details, unintended logo changes, color balance, and source-image rights. Compare important details with the source and obtain qualified review when the material affects rights, safety, records, or public claims.

FAQ

FAQ of Photo to Clay

What photos work best for Photo to Clay?+

Use a clear photo with one readable subject, visible silhouette, and simple lighting. The result is easier to review when small accessories, fur, hands, or facial features are not hidden by a crowded background.

Which clay material should I choose?+

Choose polymer clay for a colorful figurine feel, air-dry clay for a matte handmade look, or ceramic-like finish for smoother form. The setting describes a visual direction, not a physical material specification.

Can I preserve the background?+

Yes, but a simplified background often gives the clay subject a clearer silhouette. Preserve it when it is part of the story, and review whether essential context is lost when simplifying it.

Can I request a specific artist's clay style?+

Do not request a living artist's distinctive style. Describe general properties such as rounded forms, hand-pressed texture, simple palette, and visible clay fingerprints instead.

Will small text and logos stay correct?+

Do not rely on that. Style conversion can change or remove small text and logos. Avoid third-party branding in the source or verify it separately after transformation.