NexMate

AI Photo Editor for Controlled Edits to Authorized Images

Start with an authorized image and a precise description of the requested edit without altering evidence, rights information, or identity claims. Choose edit goal, target area, background handling, preservation priority, and export format, then review the result against the original context before using it.

Create an AI Photo Editor Request

Use only material you are authorized to handle. Review source details and intended use before submitting.

JPG, PNG, or WebP, maximum 10 MB. Use only an image you may edit.

.

Key features

Key Features of AI Photo Editor

01

Controls matched to the task

The form makes edit goal, target area, background handling, preservation priority, and export format explicit, so the request captures the intended result and delivery context instead of relying on an ambiguous one-line instruction.

02

Source-quality guidance

Begin with an authorized image and a precise description of the requested edit without altering evidence, rights information, or identity claims. Clear, authorized source material gives the request a stronger factual and visual foundation for later review.

03

Review points before use

Check source rights, unintended changes, visible text, personal data, records, product claims, and final sharing context before relying on a future result. Structured inputs improve clarity but never replace contextual human verification.

04

Responsible-use boundary

Use this tool within a clear boundary: do not alter evidence, required labels, identity documents, medical images, or content that would mislead viewers. Retain source material and permissions whenever they affect sharing or commercial use.

Step by step

How to Use AI Photo Editor

  1. 1

    Prepare the source and outcome

    Provide an authorized image and a precise description of the requested edit without altering evidence, rights information, or identity claims. Keep the request tied to the actual use case and to information, media, and people you are authorized to handle.

  2. 2

    Set the controls for the destination

    Choose edit goal, target area, background handling, preservation priority, and export format. Select settings that fit the intended audience and placement instead of assuming a more aggressive transformation is always better.

  3. 3

    Review key details before use

    Inspect source rights, unintended changes, visible text, personal data, records, product claims, and final sharing context. Compare important details with the source and obtain qualified review when the material affects rights, safety, records, or public claims.

FAQ

FAQ of AI Photo Editor

What kinds of edits can AI Photo Editor help describe?+

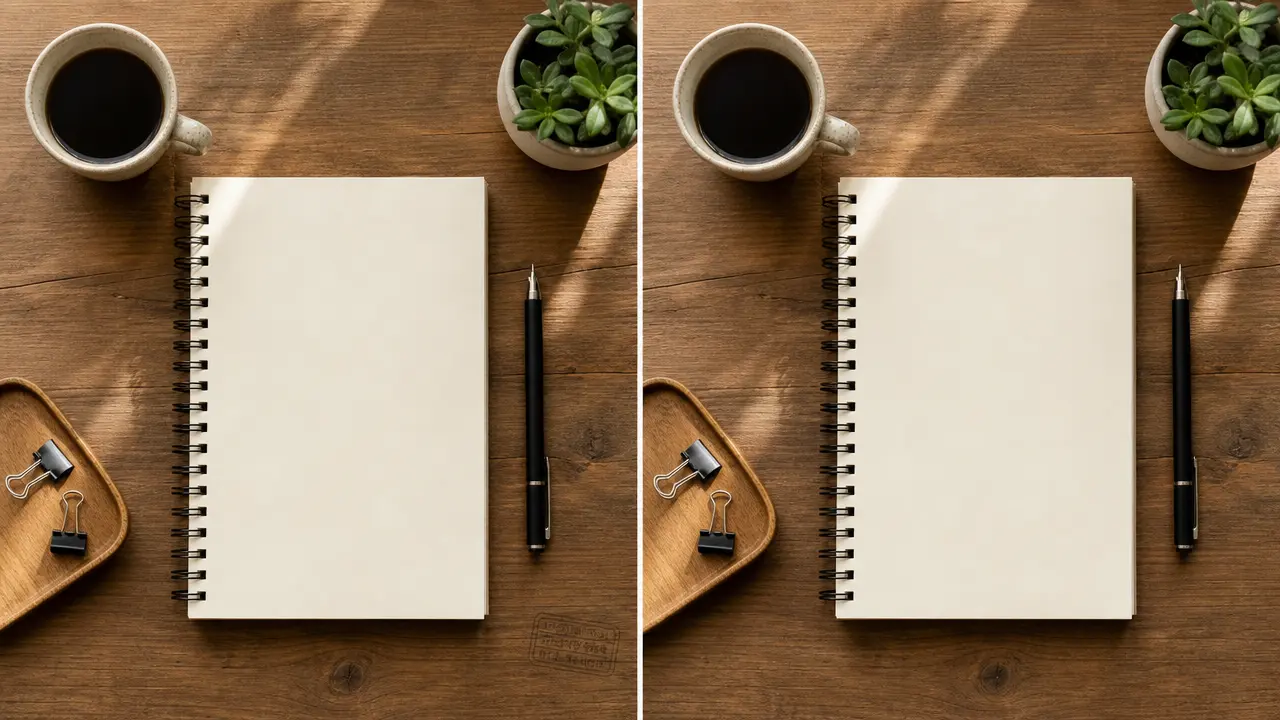
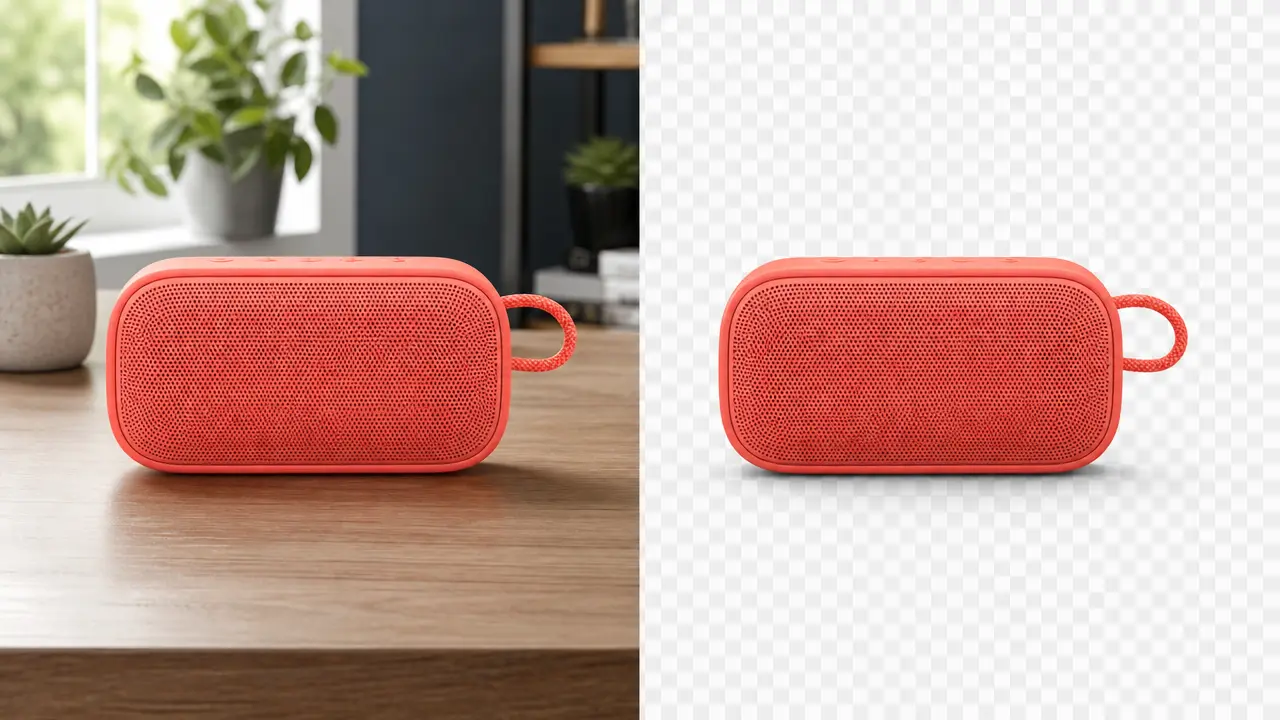
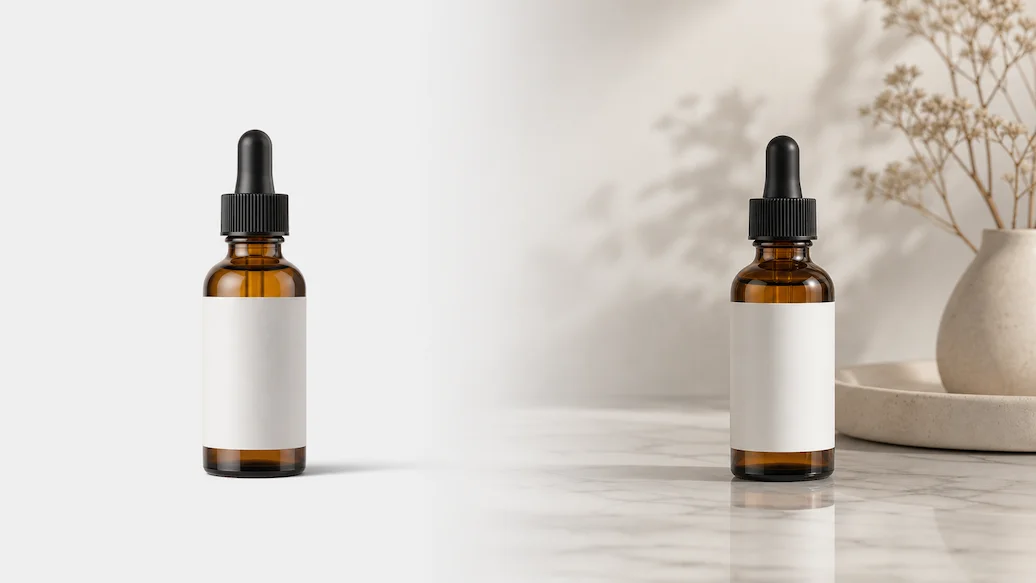
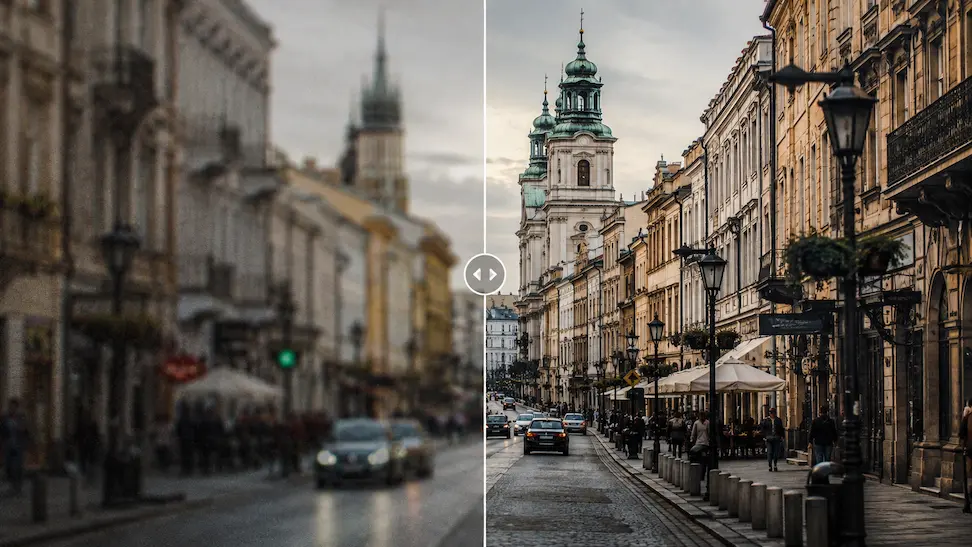
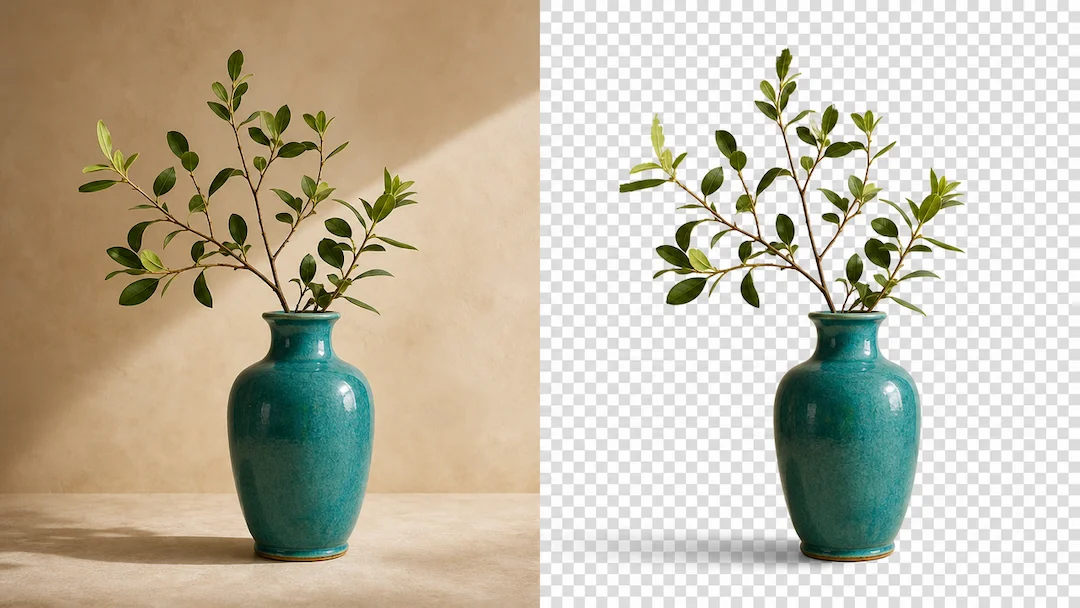
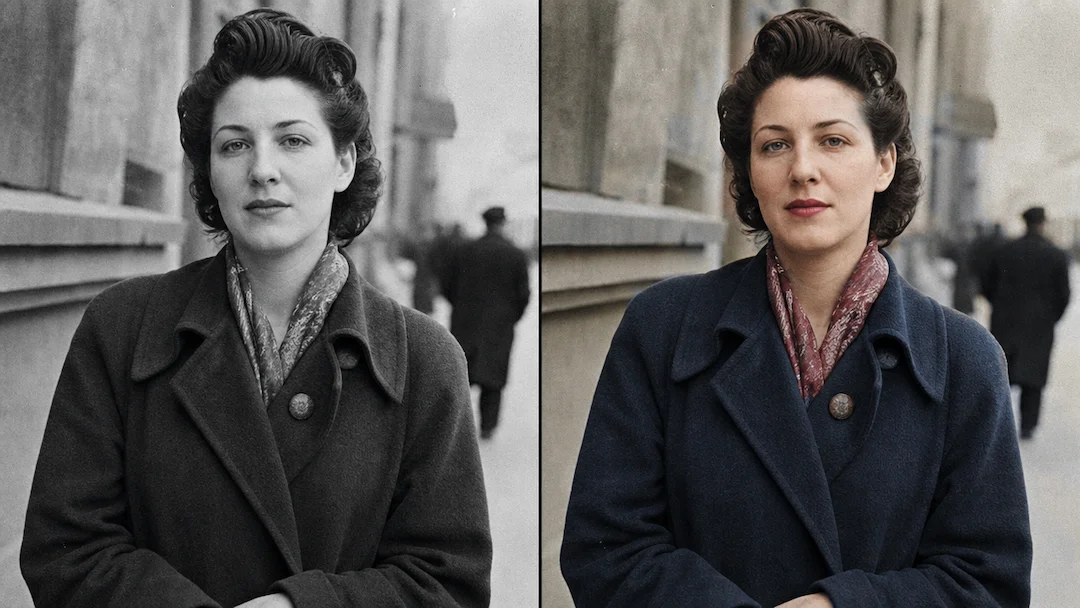
It prepares a controlled request for tasks such as background adjustment, cleanup, composition refinement, or color treatment on an image you are authorized to edit. Define the target area and what must remain unchanged.

Can I edit an ID, medical image, receipt, or evidence photo?+

No. Do not use it to alter identity documents, medical images, receipts, evidence, records, mandatory labels, or any image where a change could mislead someone or affect a decision.

How can I avoid unwanted changes?+

Name the exact target area, choose a preservation priority, and compare any future output against the original. Check product shapes, text, faces, dates, labels, and personal details before sharing.

Does editing change ownership rights?+

No. You still need rights to the source image, people shown, and any included design assets. An edit does not grant copyright, publicity, trademark, or distribution rights.

Can I use an edited photo in advertising?+

Only with verified claims and appropriate rights. Do not use an edit to invent product performance, prices, endorsements, availability, reviews, or other material facts.