Issue-focused enhancement controls
Choose detail recovery, noise reduction, lighting balance, or color correction as the main priority, so the request expresses a specific visual need rather than promising that every image can be perfectly restored.
Upload an image you are allowed to edit, identify the quality issue you want to address, and choose a restrained enhancement direction that can be reviewed at full size.
Use only images you may edit. Review all visual details before using an enhanced result for public, commercial, or accuracy-sensitive purposes.
Expected output
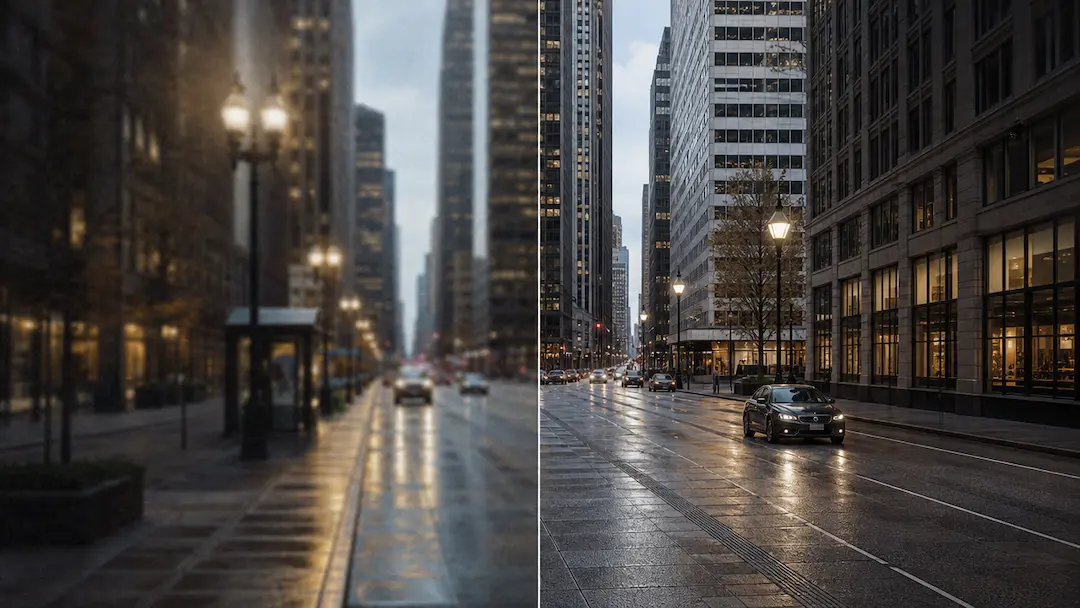
One review image uses a clearly divided before-and-after composition to illustrate a restrained detail and contrast improvement direction without claiming a real enhancement result.
Key features
Choose detail recovery, noise reduction, lighting balance, or color correction as the main priority, so the request expresses a specific visual need rather than promising that every image can be perfectly restored.
Set the intended use such as social sharing, web content, or a larger display, helping the enhancement request balance visible sharpness, natural texture, and practical output expectations.
The page recommends comparing important faces, text, edges, and patterned surfaces at a useful viewing size because enhancement can introduce artifacts, alter fine details, or make a previously subtle issue more visible.
Use only images you own or may edit, and preserve required attribution or licensing information. Enhancement does not transfer copyright, repair missing permissions, or make an image suitable for every commercial use.
Step by step
Choose the best available source file and use only material you own or are authorized to modify. Keep the original file so you can compare details and recover it if the enhancement is unsuitable.
Select one main improvement direction and the intended output use. Describe visible concerns such as compression noise, low contrast, or soft edges instead of assuming the tool can reconstruct unknown facts.
Check faces, skin texture, lettering, patterns, product details, and edges before publishing. Use a verified source image for evidence, identification, or any context where accuracy is material.
FAQ
It prepares an authorized image improvement request around a selected quality goal, such as detail, noise, lighting, or color. It does not guarantee restoration of information that is absent from the source.
Use the highest-quality source available and avoid screenshots of already compressed previews where possible. Keep the original file for comparison and do not upload images you are not allowed to edit.
No. Over-enhancement can make texture look artificial, amplify noise, or distort edges and lettering. Choose a restrained priority and inspect the result at full size before use.
Do not use enhancement to alter evidence, identification, financial records, or material facts. Use original, verified files where accuracy, authenticity, or legal validity matters.
Keep original files for any image containing important text, labels, or logos and inspect those areas closely after enhancement. Do not rely on visual improvement to correct wording, prove authenticity, or recreate missing brand details.
Image Tools
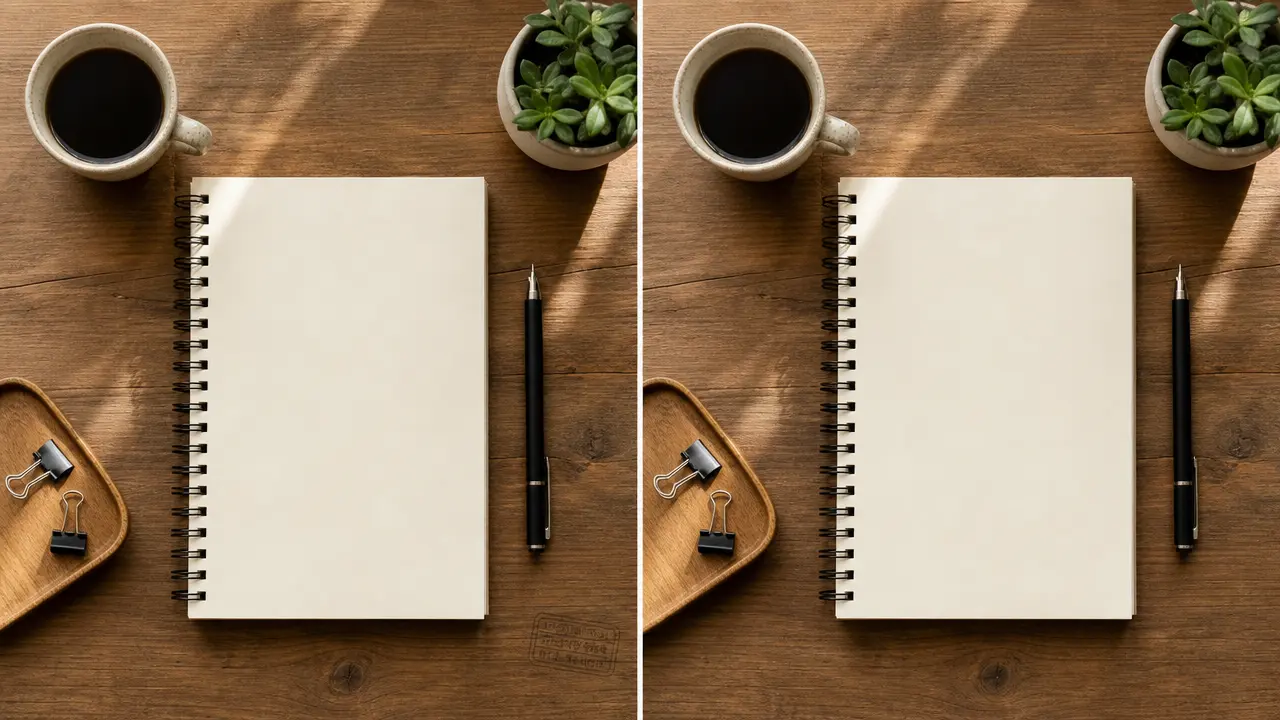
Prepare an authorized image cleanup request for removable text, logo, or date-stamp overlays with location and texture-preservation controls.
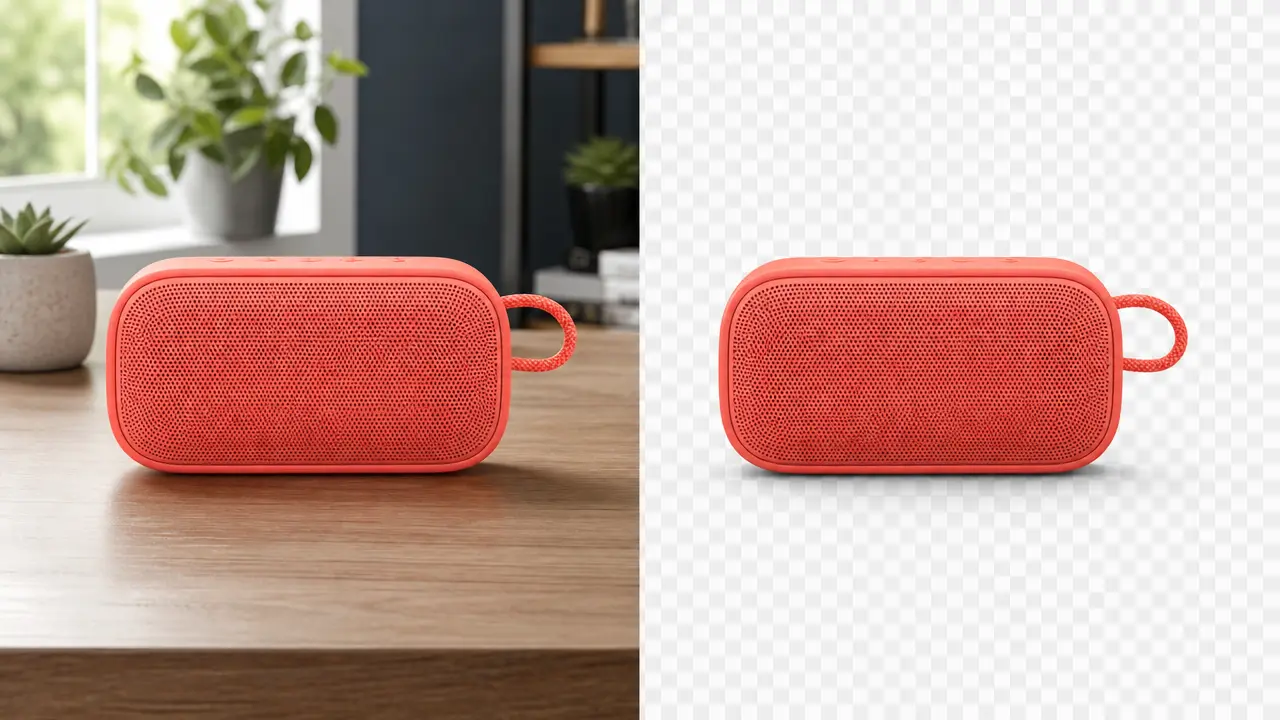
Isolate the main subject and prepare a transparent image with edge and shadow controls.
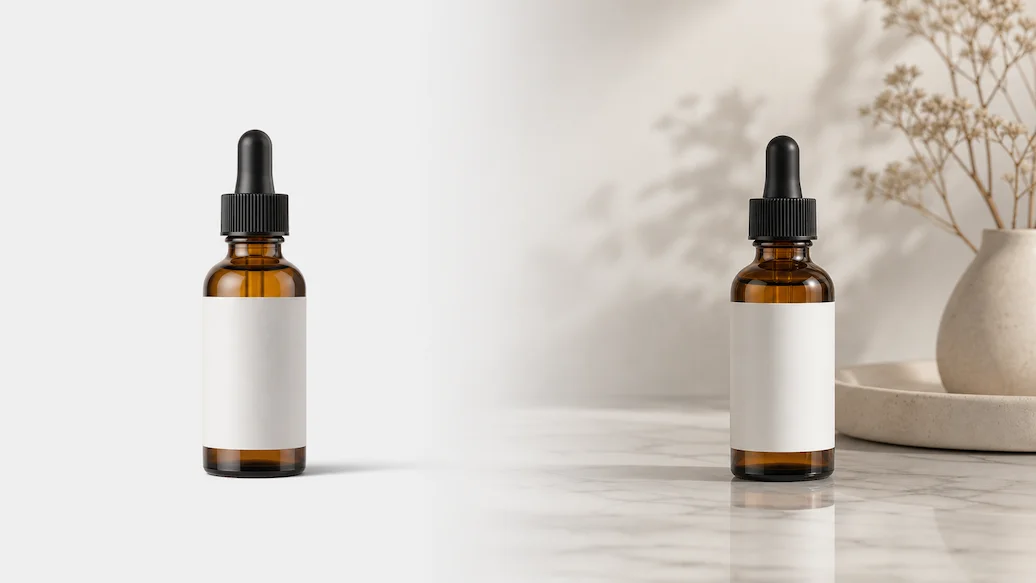
Prepare a photo cutout and background-replacement request using a solid color, custom image, AI scene, or transparent output.
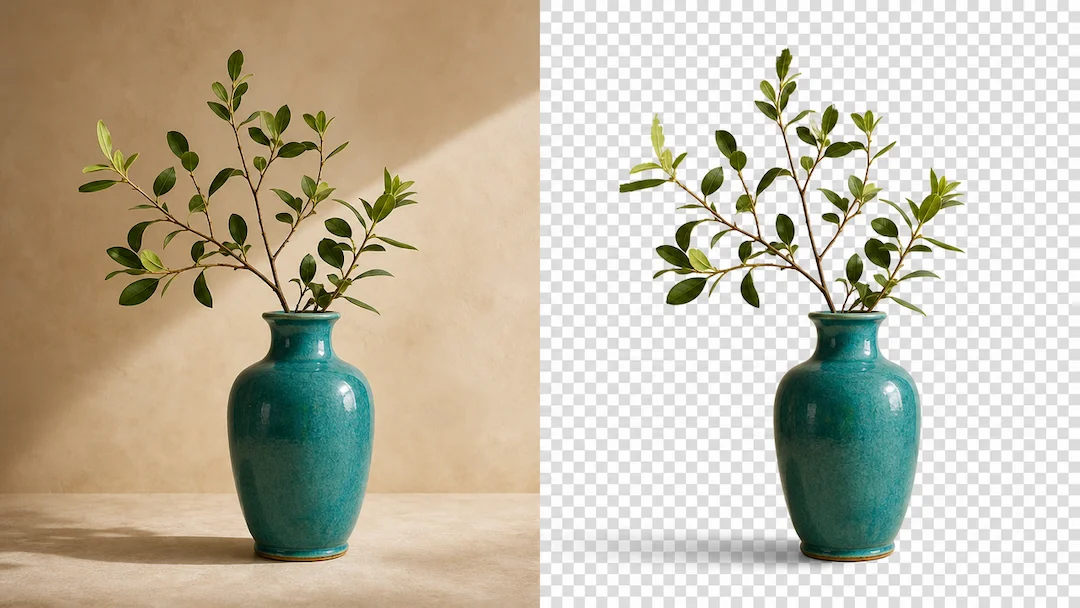
Use Transparent Background to prepare a transparent-background request from an authorized image with edge, shadow, and output controls.
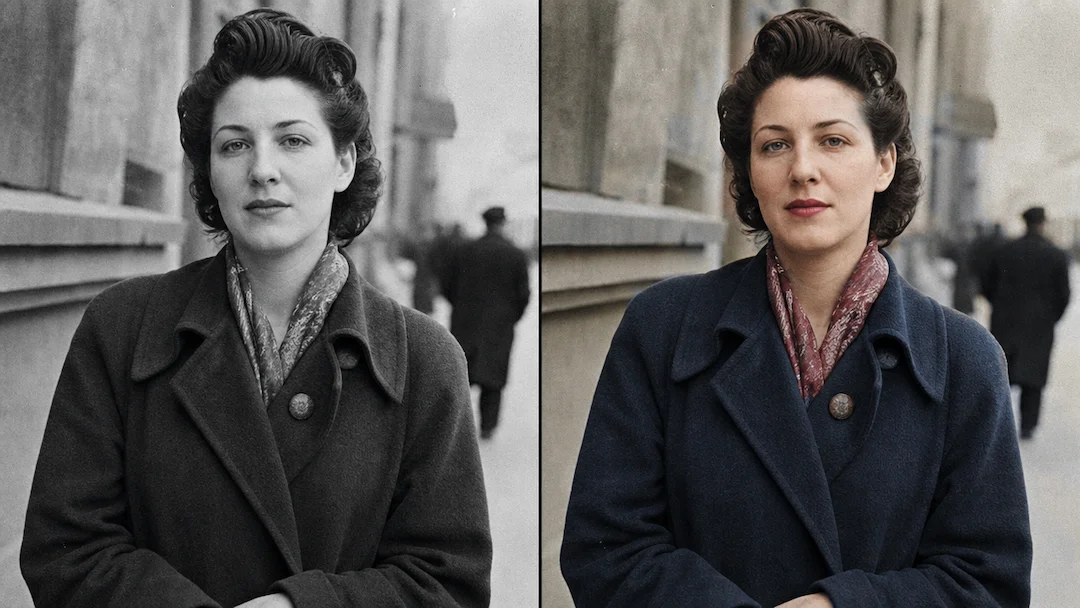
Use Photo Colorizer to prepare a careful colorization request for an authorized black-and-white photo with reference, skin-tone, clothing, and historical-context controls.
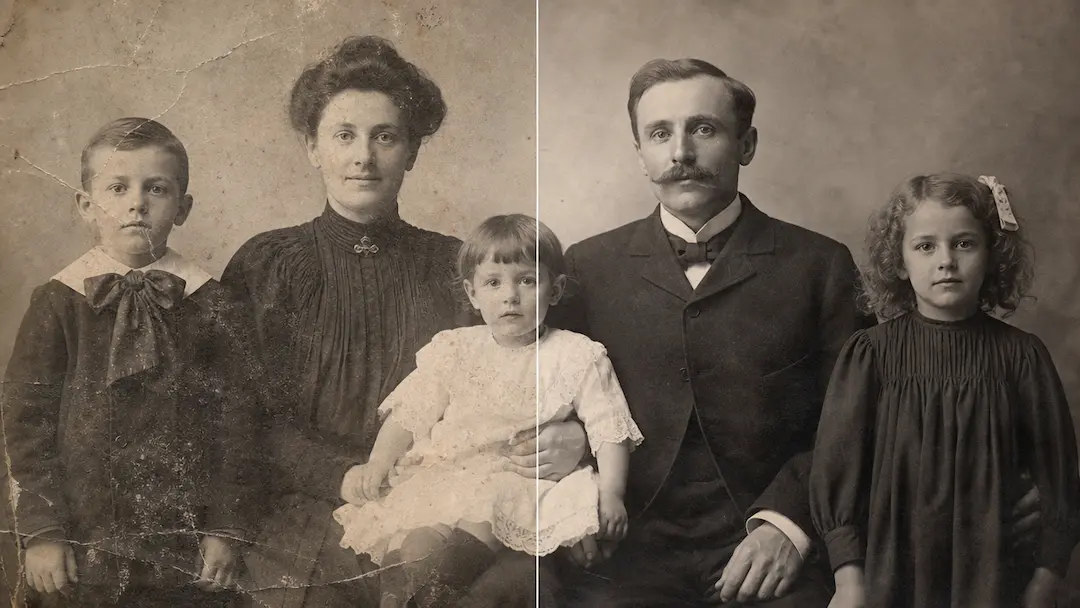
Use Restore Old Photos to prepare a careful restoration request for an authorized aged photo while preserving its historical visual character.